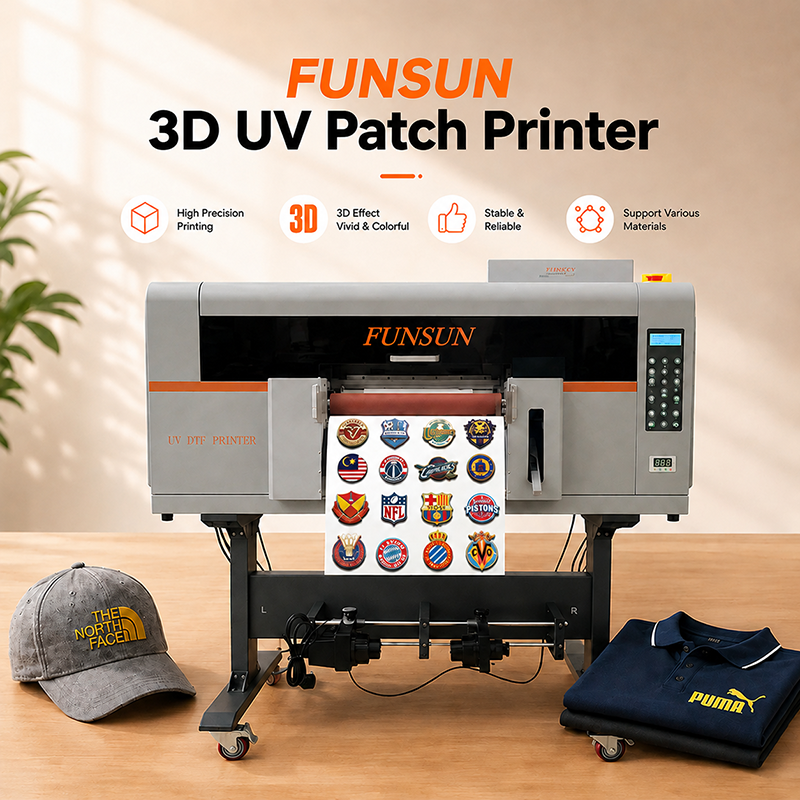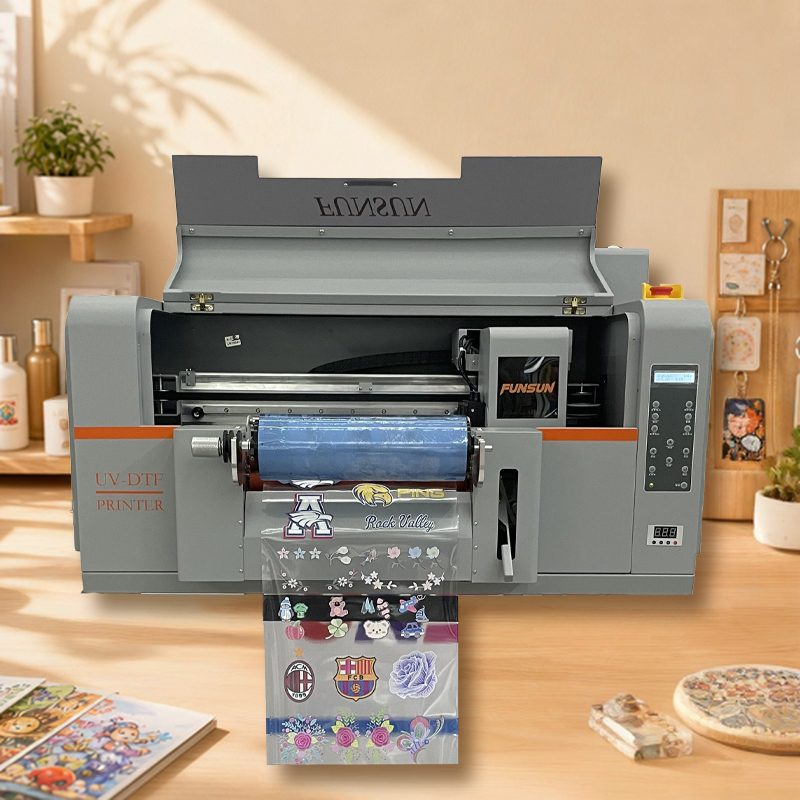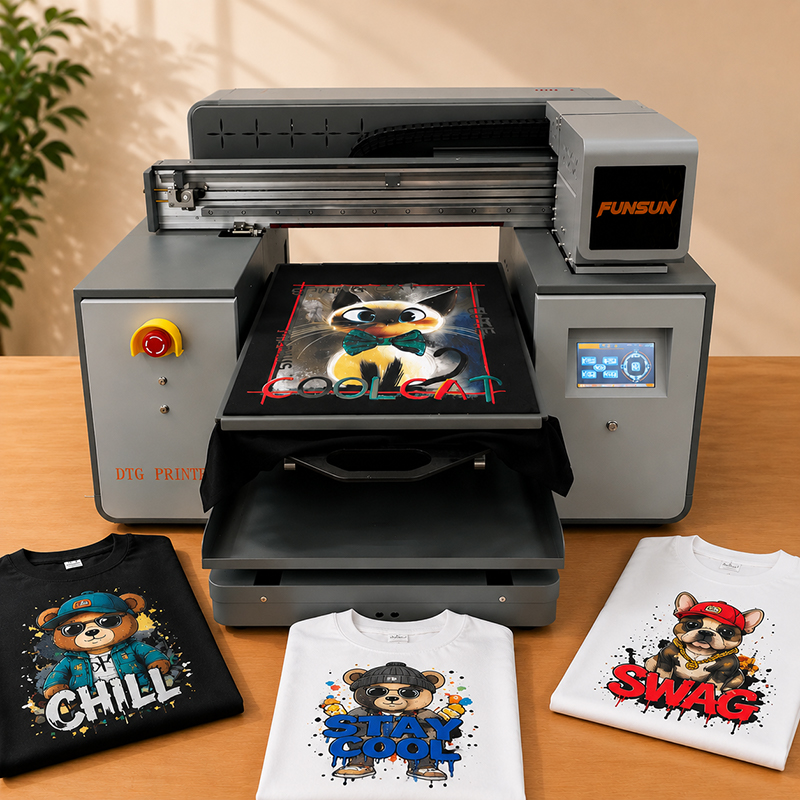
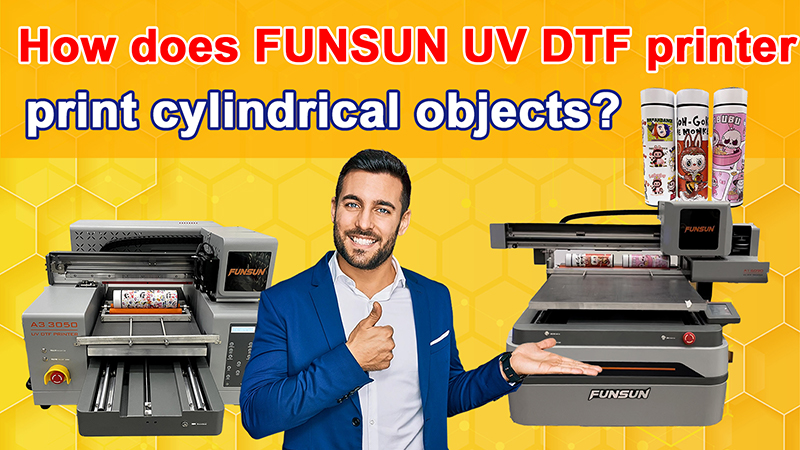
Our FUNSUN UV printer can not only print on various flat items and materials, but also directly print on cylindrical bottles like this. However, our cylindrical fixture is required.
Today, I will introduce in detail the working principle, usage method of the cylindrical fixture, as well as the precautions for printing on cylindrical bottles.
1: Working Principle of the Cylindrical Fixture
When we normally print on flat objects and materials, our print head moves horizontally, that is, in the X – direction. Our printing platform moves forward and backward, that is,
in the Y – direction. In this way, we can print a complete flat surface. Now, we place this cylindrical fixture on the printer platform. We manually press the forward button on the printer,
making the printer platform move forward slowly in the Y – direction, just like in normal printing. Look, isn't the cylindrical bottle placed on the fixture also rotating?
Do you know why this is? Actually, it's very simple. When the printer platform moves forward, it generates friction with the two wheels of the cylindrical fixture.
Thus, the two wheels start to rotate, which in turn drives the cylindrical bottle on the two wheels to rotate. So, when we print, the cylindrical bottle rotates slowly.
This is the working principle of the cylindrical fixture. Is it very simple? Do you understand it now?
Here, it should be noted that the bottle to be printed must be a cylindrical object with flat upper and lower ends. If it is not a cylindrical shape with flat upper and lower ends,
the rotation speed will be uneven. Moreover, for the sunken parts of the bottle, the height difference from the print head is relatively large. When the ink is printed from the print head,
it will disperse, resulting in a blurry printed image.
In addition, a mug with a handle cannot rotate a full 360 degrees on our fixture. Therefore, we cannot print a 360 – degree image on such a mug with a handle.
2: Demonstration of the Cylindrical Printing Process
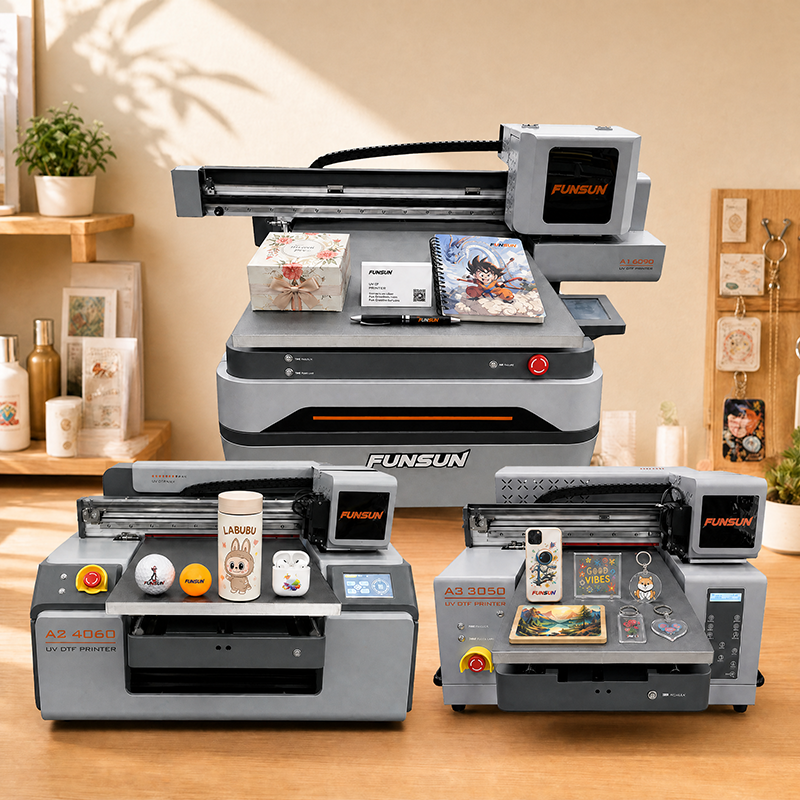
We have three sizes: A3 UV, A2 UV, and A1 UV. All of them can print cylindrical objects through the fixture. Our A1 can print a maximum size of 60 * 90,
A2 can print a maximum size of 40 * 60, and A3 can print a maximum size of 30 * 50. For cylindrical objects of general size, A2 and A3 can only print one cylinder at a time,
while A1 can print two cylinders simultaneously.
First, we fix the cylindrical fixture to the printing platform. Then, lower the printing platform and confirm the printing height. Make sure the print head does not touch the printed object.
The optimal height between the print head and the printed object is about 1 – 2 millimeters.
Create the printing pattern on the computer, confirm the printing size, and then you can start printing directly.
Well, the printing is completed. Take a look at the printing effect. Do you like it?
Here, it should be noted that when printing on a cylinder, we can only print in 5 colors: CMYK and W. We cannot print the varnish effect. Look at the position of our print head.
The CMYK and W color heads are on the top, and the varnish head is at the bottom. So, after the CMYK and W colors are printed, the bottle has already rotated,
and there is not enough time for the varnish to be printed on the same image again.
Well, you should already know the working principle and printing process of the cylindrical fixture. If you have any other questions, please feel free to contact me.